Excel Dark Mode – Complete Guide 2025
Excel Dark mode has indeed become quite popular in software interfaces lately. It’s particularly favored by many users for its ease on the eyes, especially during morning and evening hours. This feature essentially switches the color scheme of the interface to dark colors, which can reduce eye strain, particularly in low-light environments.
Microsoft Office, including Excel, now has a dark mode option to make the interface easier on your eyes. But by default, this only changes the colors of the menus and buttons, not the cells in your spreadsheet, which can be too bright and jarring. Here’s how you can make Excel’s dark mode even better by darkening the cells
Lets Learn How to use Excel Dark Mode
Enable Dark Mode in Excel for the Interface
Enabling Dark mode in Excel is simple! Here are the easy steps:
- Open Excel.
- Click on the ‘File’ tab in the top-left corner.
- Choose ‘Options’ at the bottom of the menu.
- In the Excel Options window, select the ‘General’ tab.
- Under “Personalize your copy of Microsoft Office,” find the ‘Office Theme’ dropdown.
- Pick either ‘Black’ or ‘Dark Gray’ from the dropdown.
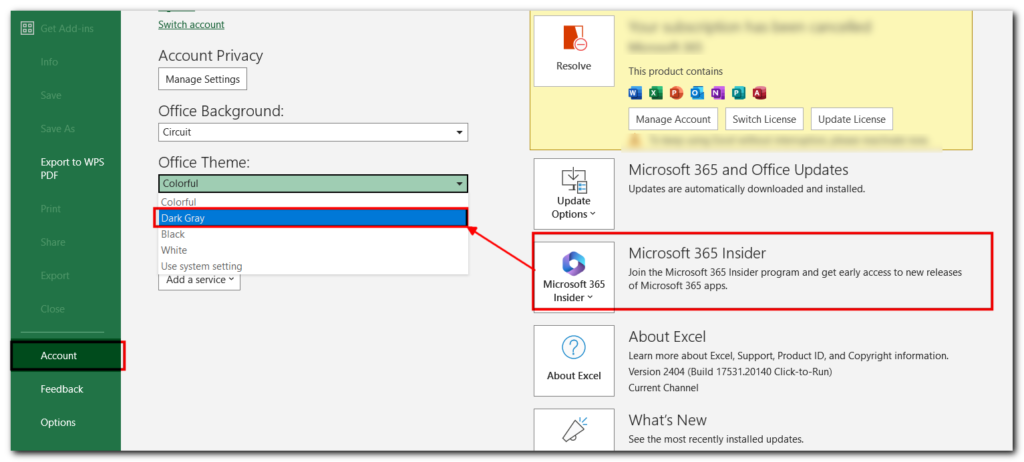
7. Click ‘OK’ to apply the dark mode theme.
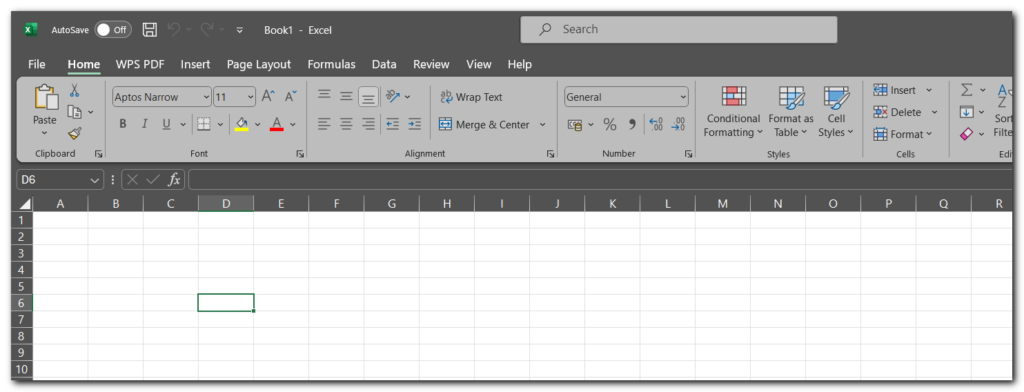
That’s it! Excel will switch to dark mode, which can be more comfortable for your eyes, especially in low-light settings.
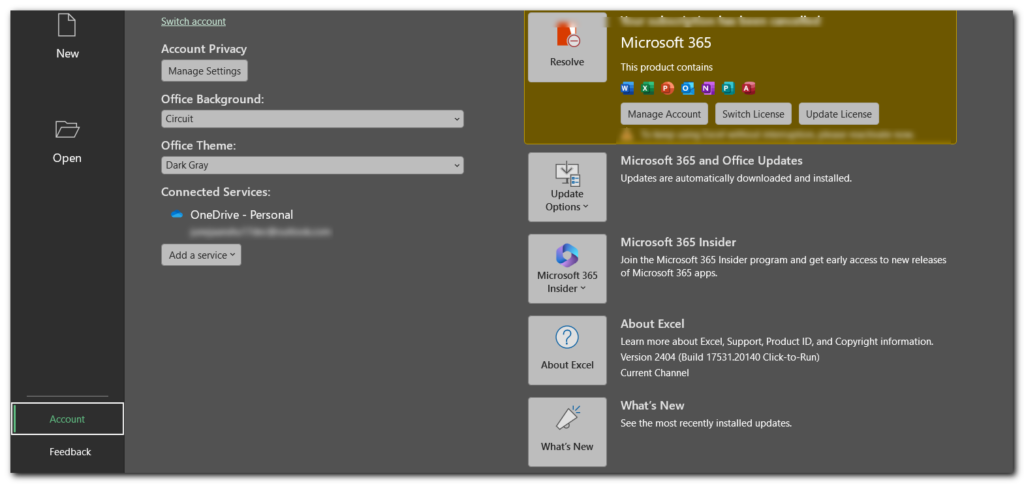
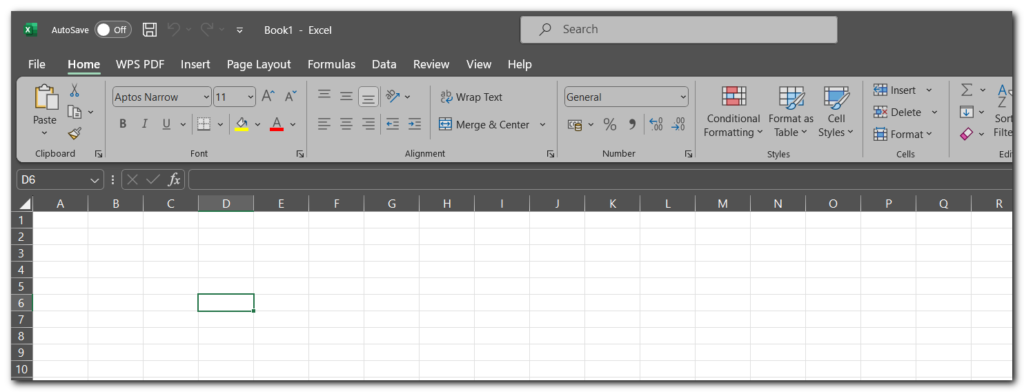
The sheet will look like this
Method 2:-
You can also do the same steps by going to File > Options > General.
Scroll down to Personalize your copy of Microsoft Office, click Office Theme drop-down and select the black theme or dark gray theme. Finally, click OK.
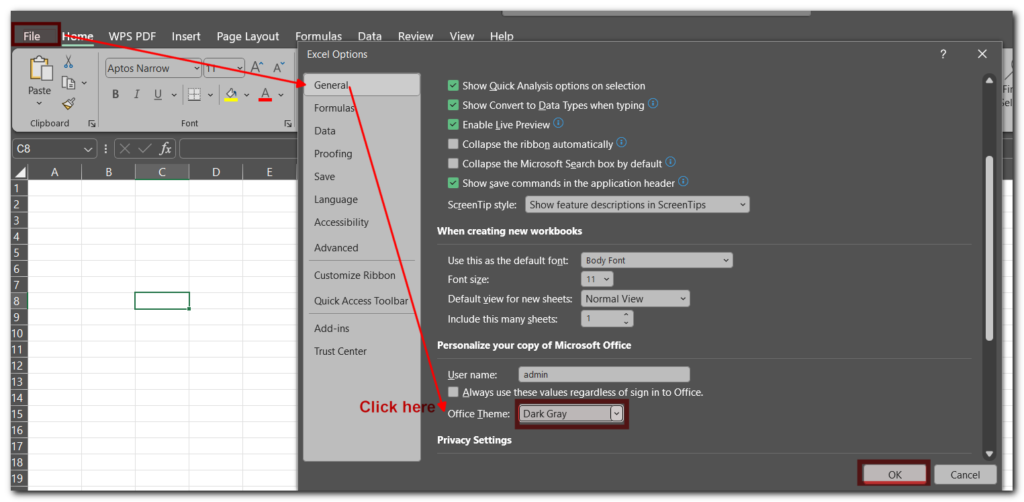
Again, this only made the interface dark. The entire spreadsheet where you mainly work is still white.
Enable Excel Dark Mode for Cells
That’s right! Enabling dark mode in Excel only changes the color scheme of the interface, like menus and toolbars, to dark colors. It doesn’t automatically change the colors of the cells in your spreadsheet. If you want your cells to have a dark background, you’ll need to manually change the fill color of the cells.
Below are the steps for transforming your Excel program and workbooks into dark mode on your Windows 10 or Windows 11 PC or laptop.
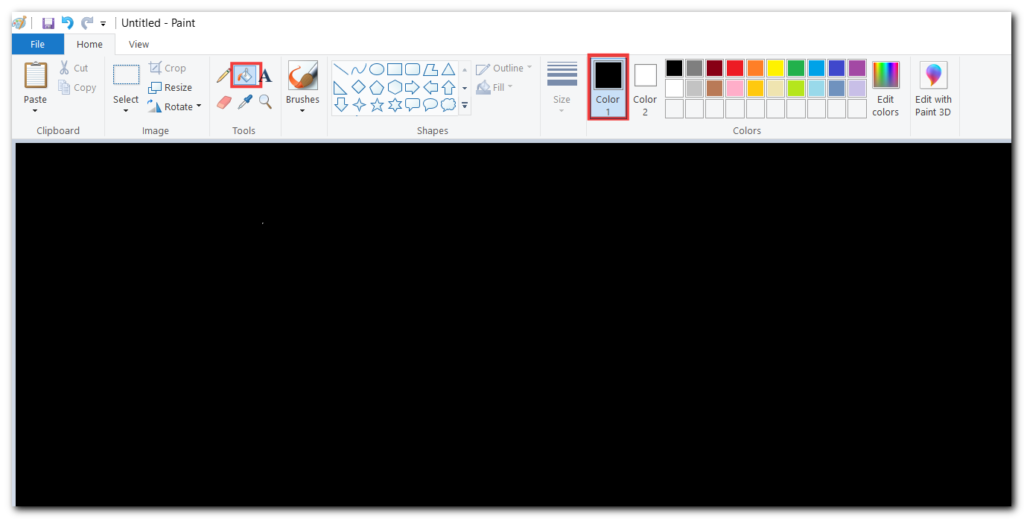
- Open your Windows start menu and search for and open Paint
- Select the Buckettool> Choose the background colour “Black”
- Now click within the white space/background in Paint using your bucket tool and it should fill with the black color
- Click File > Save as and save the picture anywhere on your computer
5. Open Excel>Account > Office Theme > Dark Gray
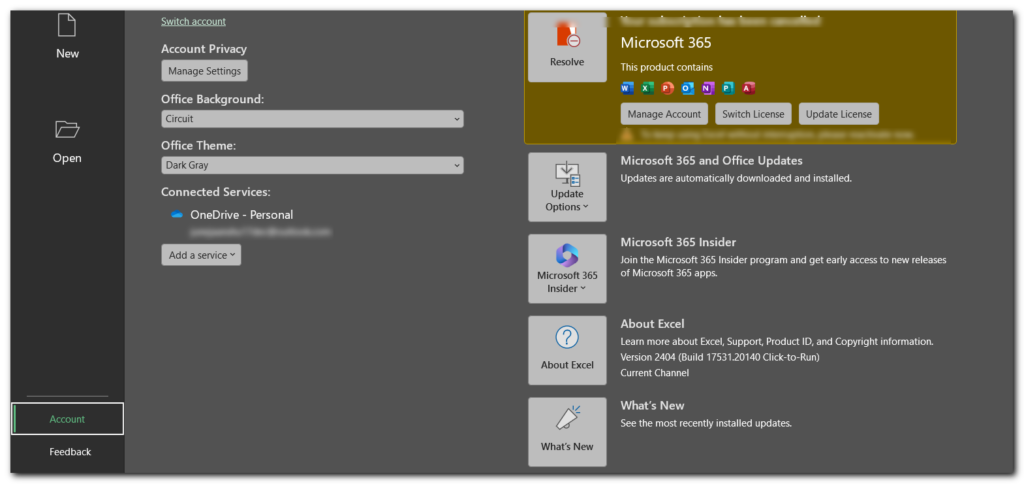
6. Create a New Work Book or Open the one you want to change to Dark Mode.
7. Select Page Layout >Background > Insert Picture > From a File click on Browse
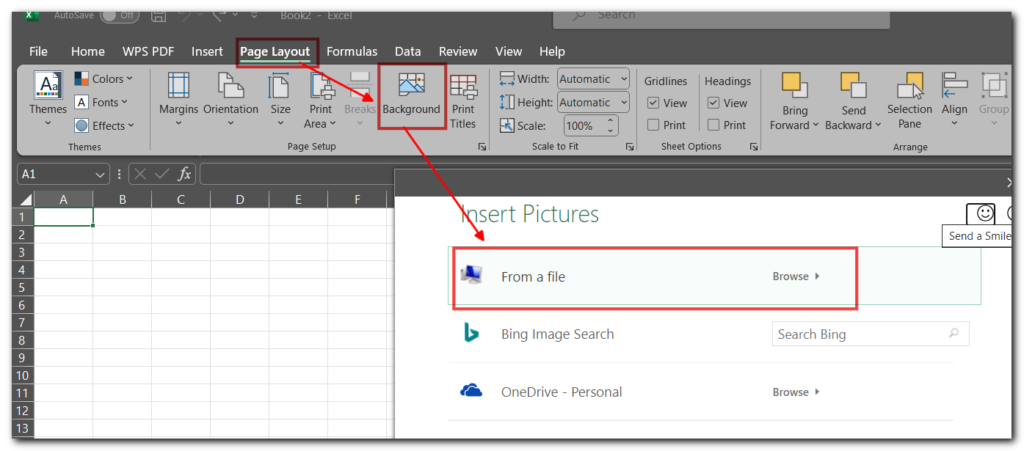
Select the image you saved from Paint
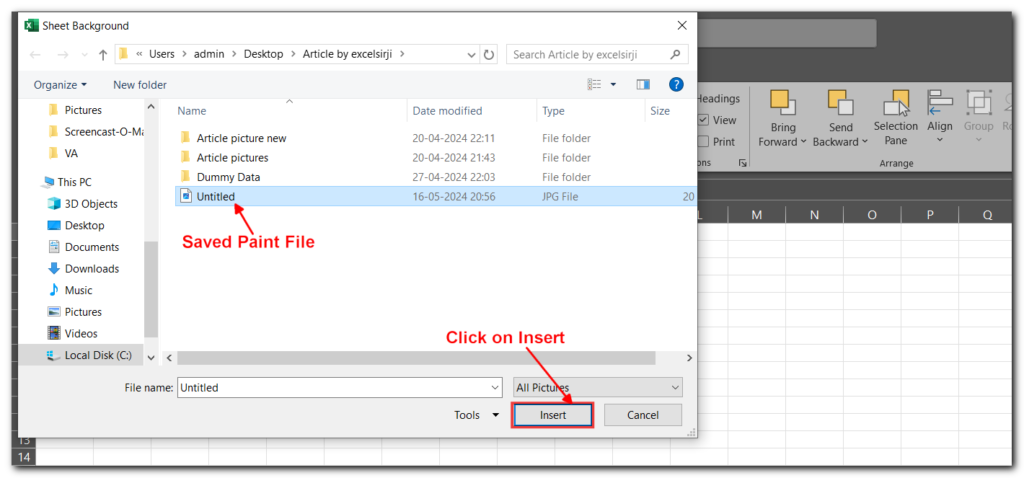
By following these steps, you can enable dark mode in Excel and make the cells dark, creating a consistent Excel Dark Mode experience.
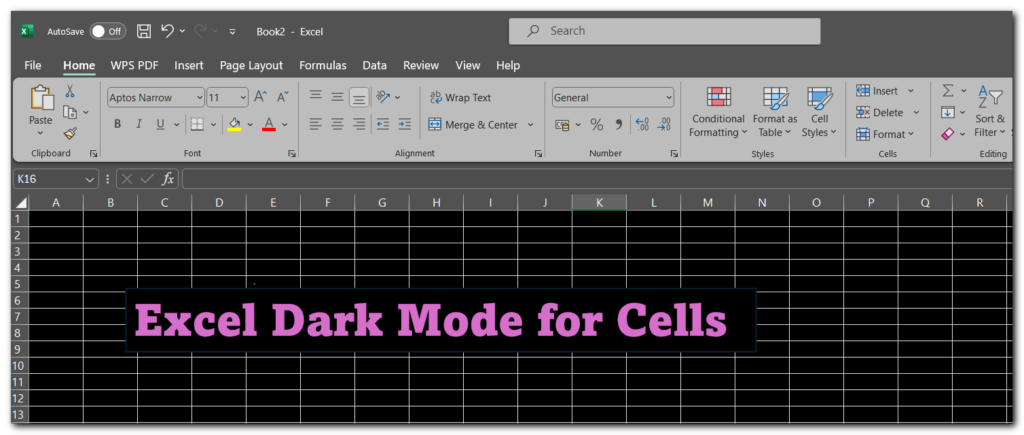
We hope this guide has helped you change Excel to dark mode, including the cells. If you have any more questions or need help, feel free to ask!


