Duplicate Data Identifier Tool
Duplicate Data Identifier Tool
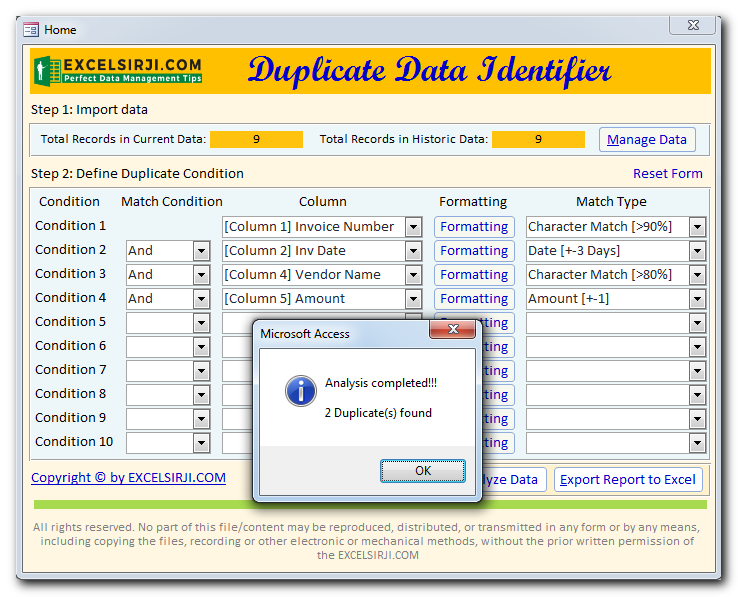
Table of Content For Duplicate Data Identifier Tool In Excel
Duplicate data Identifier Tool
Duplicate Data Identifier is an MS Access based tool which helps to identify duplicates from any Excel based data. The tool supports up to 10 conditions and 25 types of matching conditions to find the exact duplicate. You can also define formatting conditions to first format the data before checking for duplicates
Duplicate Data Identifier Tool Features
- Support two datasets (Current and Historic) where each record of current dataset is compared with all records in historic dataset
Benefits of Duplicate Data Identifier tool
- Easily identify duplicates and save money and efforts
- Increase accuracy and reliability of your data
- Highly configurable and generates fast results
Allows two ways to import data in the tool
Manual Copy and Paste
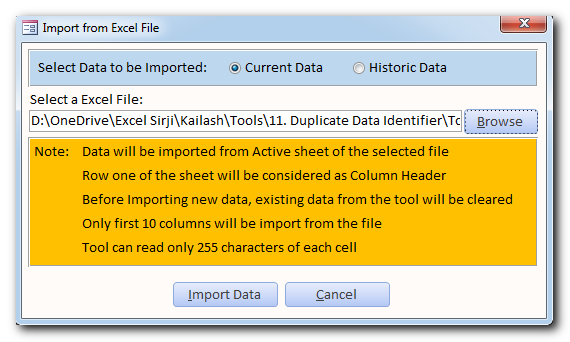
Import from Excel file
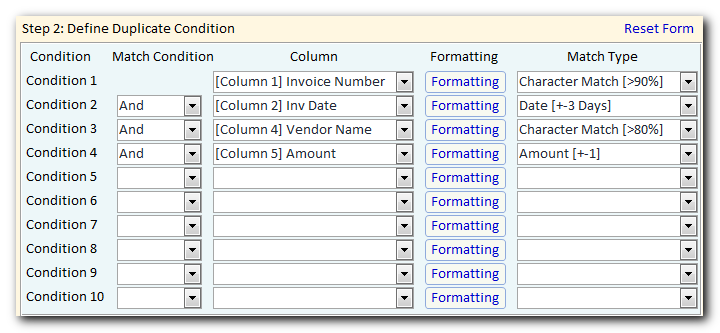
- It has got user friendly options to define condition for duplicates
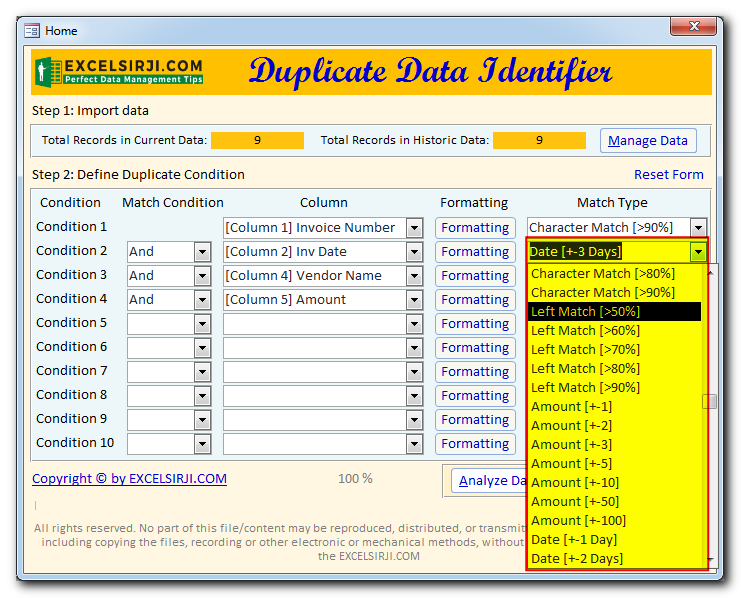
- The tool supports 25 types of match conditions
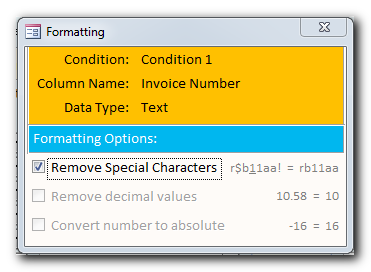
- You can also define formatting conditions to first format the data before checking for duplicates
Why to waste your efforts, when we have ready professional tool designed for you. To download click below:-
Benefits
- Easily identify duplicates and save money and efforts
- Increase accuracy and reliability of your data
- Highly configurable and generates fast results
System Requirements
- Installed version of MS Access 2016 or above version
- Installed version of MS Excel 2016 or above version
- Windows 7 or above operating system
Duplicate Identifier Data Tool Limitations
- As the number of records or matching conditions increases, tool may take more time to analyze data
How to use Duplicate Data Identifier tool?
- Open the tool in MS Access 2007 or above version
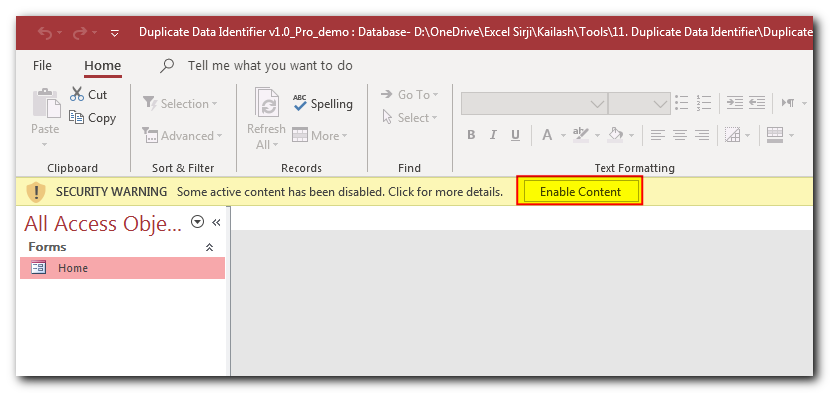
- You may see a warning message on top because the file contains VBA Codes, click on Enable Content
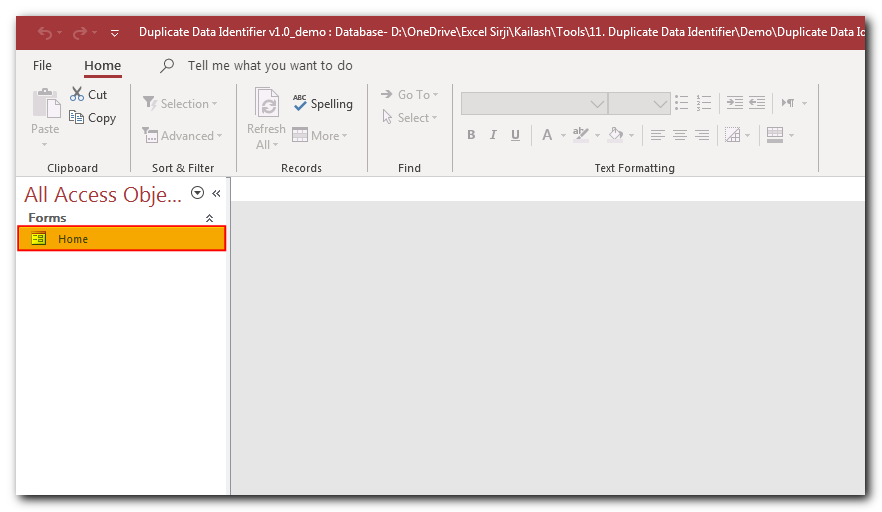
- Double click on ‘Home’ form to open the tool
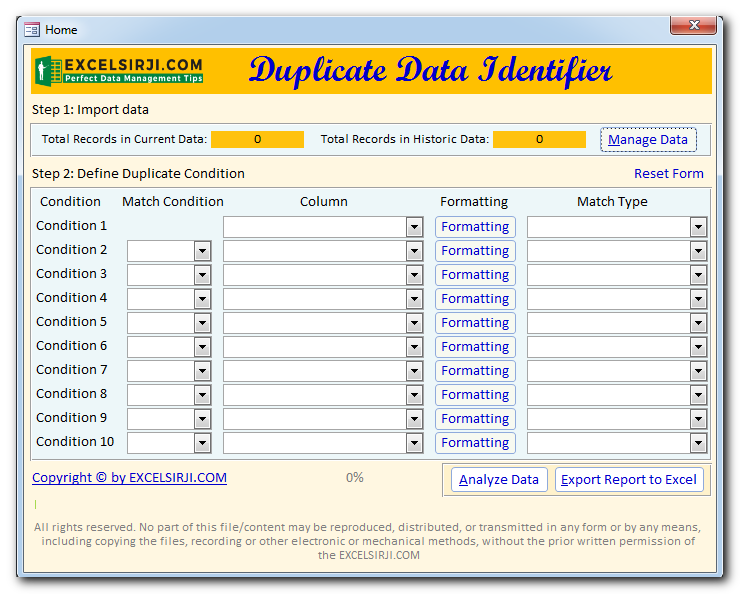
- You will see a blank form opened like below
- To use this tool for analysis, you need two datasets in Excel files.
Data 1 (Current Data): This is the data in which you want to identify duplicates
Data 2 (Historic Data): This is the data from which you want to compare current data to identify duplicates
Points to Note:
- Both Current and Historic dataset should be in same format like sequence of columns
- You can import only 10 columns from the dataset in the tool
- Tool can read only 255 characters of each cell
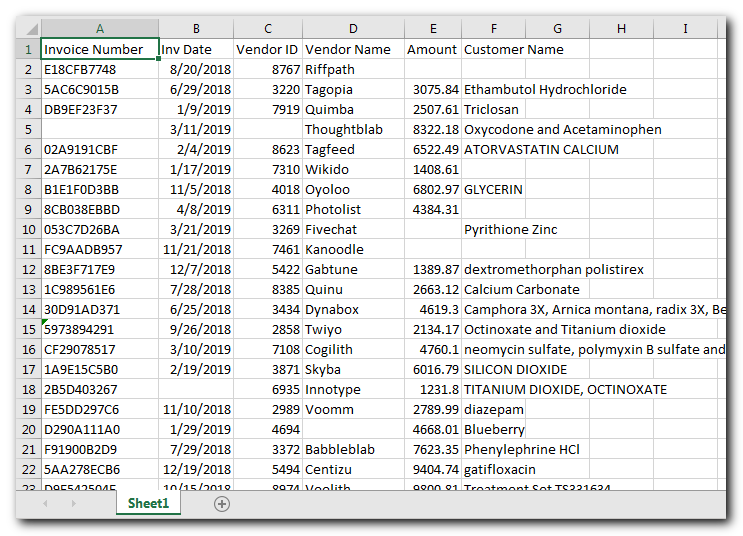
See below a sample dataset:
- To import data in the tool, click on ‘Manage Data’ button

- There are two ways you can import data in the tool
Option 1 (Manual Copy Paste): You can simply copy your data (without headers) from any Excel file and paste in the tool
Step 1: Copy data from Excel file
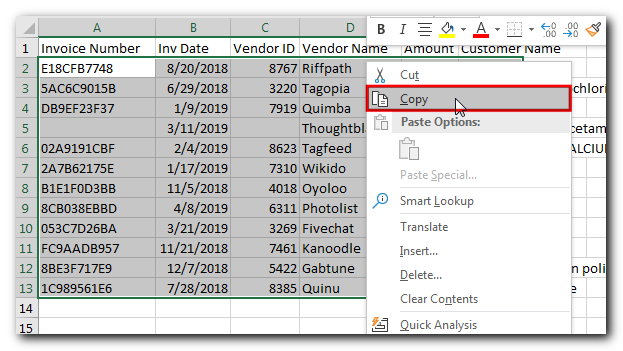
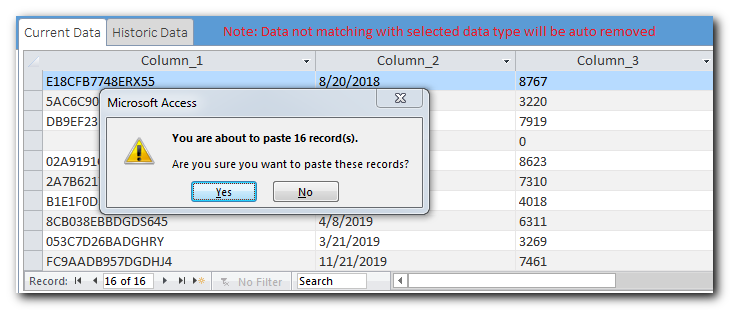
Step 2: Select the appropriate tab (Current or Historic) to paste the data and click on the top left section of the datasheet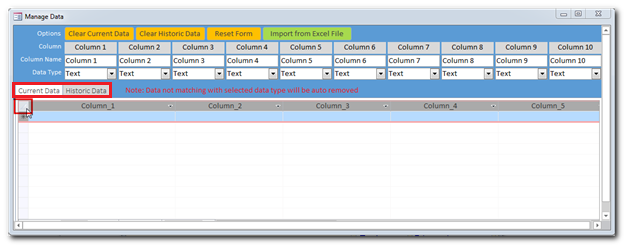
Step 3: Press Ctrl+V to paste the data and click on ‘Yes’ button to confirm the action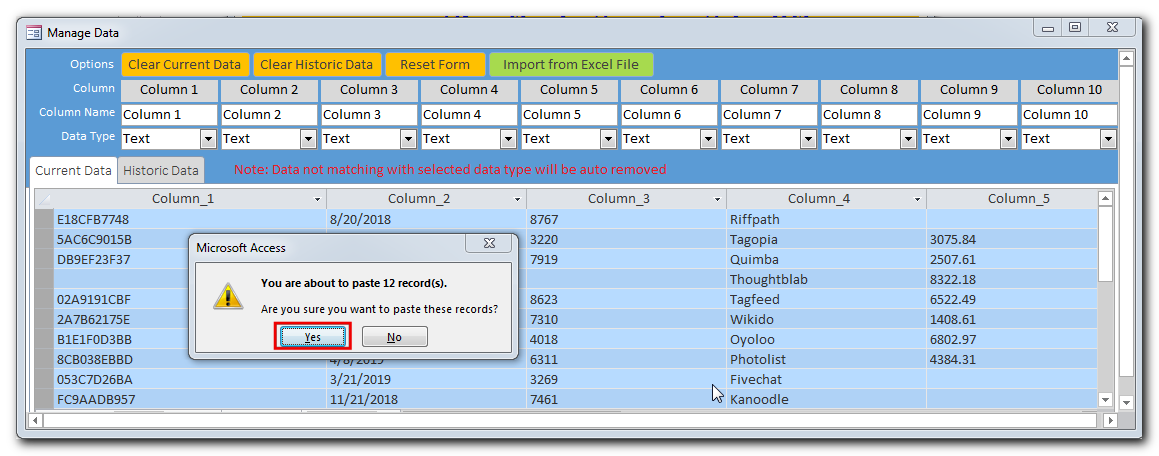
Option 2 (Import from Excel): You can use import functionality in the tool to browse an Excel file and import data
Step 1: Click on ‘Import from Excel File’ button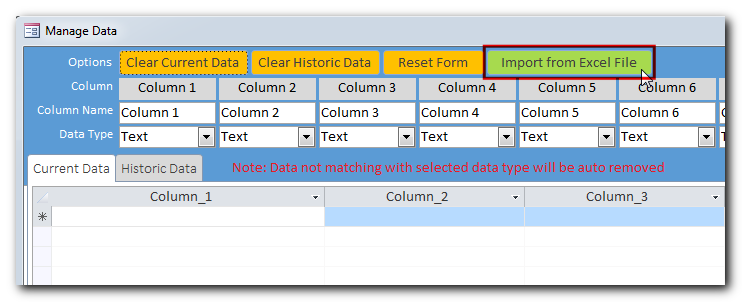
Step 2: Read the instructions on the form and select the dataset to be imported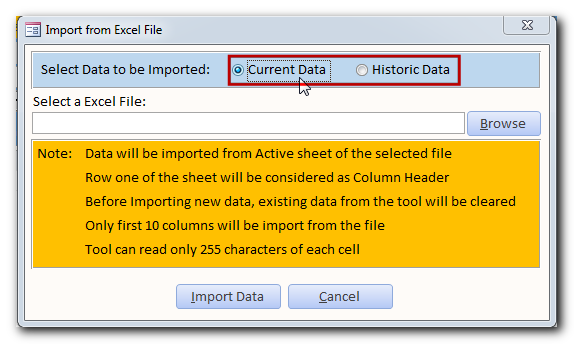
Step 3: Browse the Excel file you want to import and Click on ‘Import Data’ button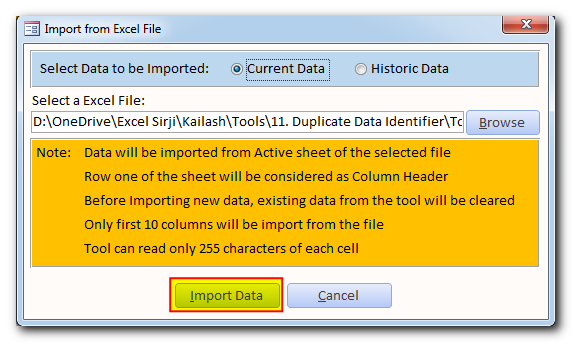
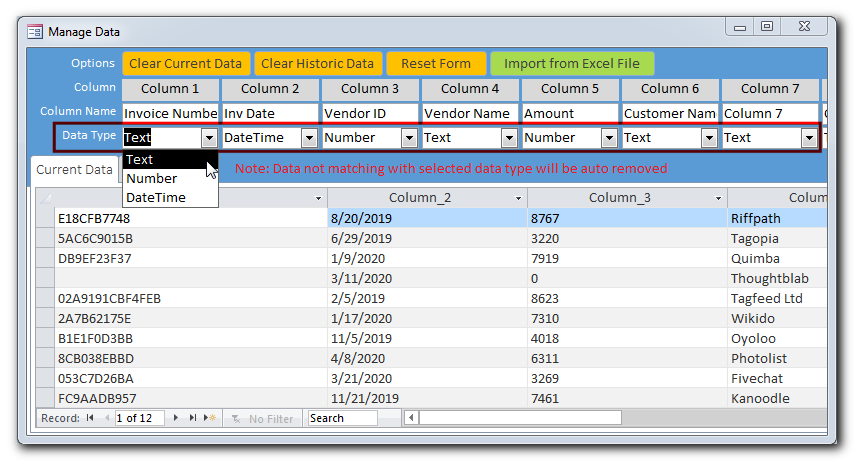
- Once the data is imported, you need to define datatype of each column. By default, each column is considered as text, you need to explicitly change the datatype. It is an important step because you can define few conditions on specific datatype only. To define the datatype, select the right option for each column
- Now it’s time to configure the tool to identify duplicates. Since there are different ways a duplicate invoice can be processed; hence this tool comes with fully configurable conditions to catch the duplicate.

- This tool comes with 25 types of matches, have a look at below table which can help you to decide the right match type to be selected.
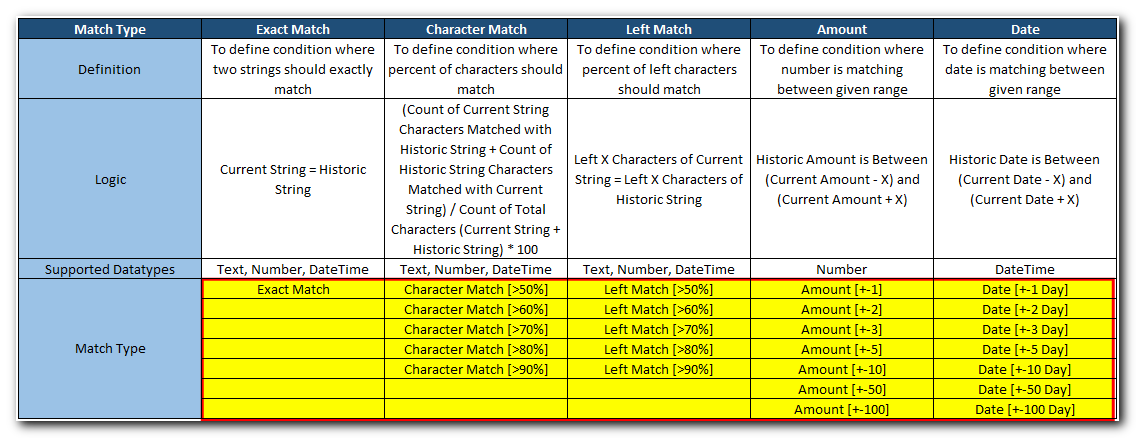
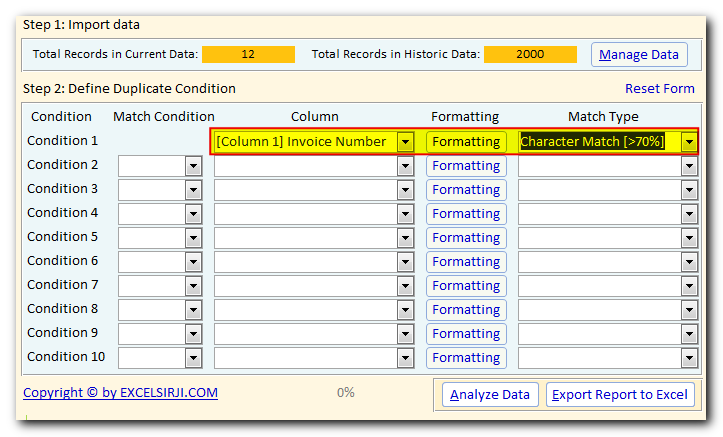
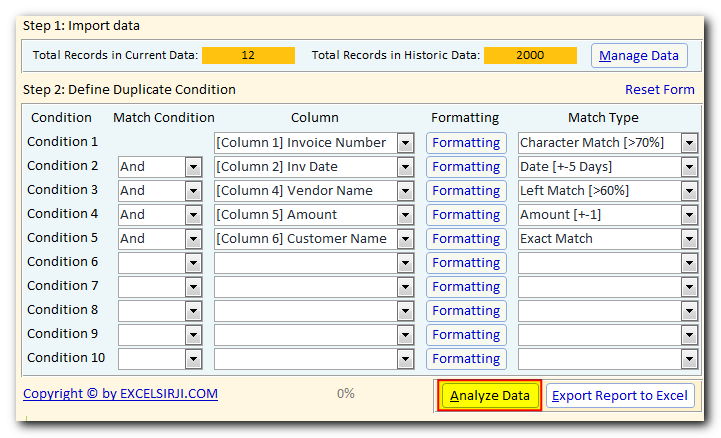
- Let’s start with configuring the tool to identify duplicates, first we will define Invoice Number condition as ‘Character Match [>70%]’. You can also choose other character match options depends on how much variation you are expecting in the data. As you decrease the character match percentage, you are expected to get more duplicates
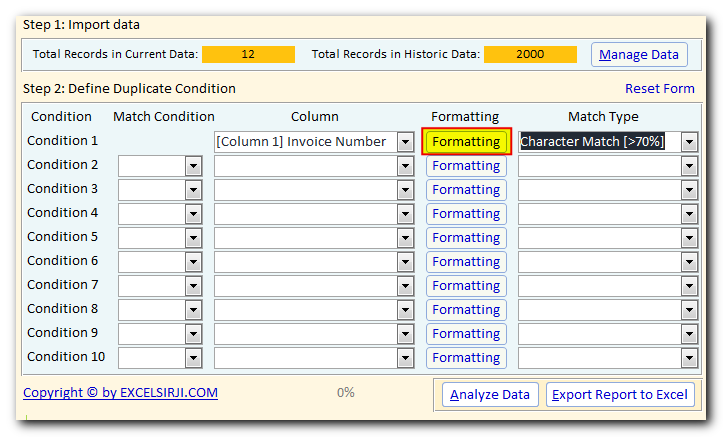
- In some cases where you want to remove special characters such as !@#$%^&*() before comparing the data, you can use Formatting option
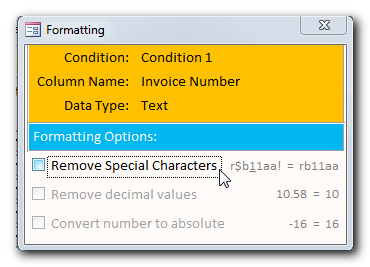
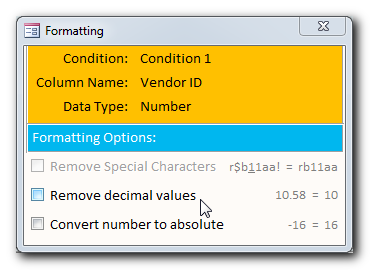
- For Text datatype, you can use ‘Remove Special Characters’ formatting option. For Number datatype, you can use ‘Remove decimal values’ and ‘Convert number to absolute’ options
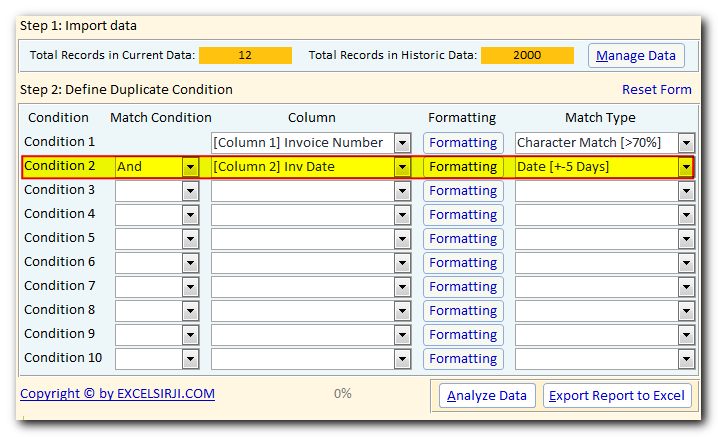
- Now we will define condition for Invoice Date as below. You can also choose other options as appropriate
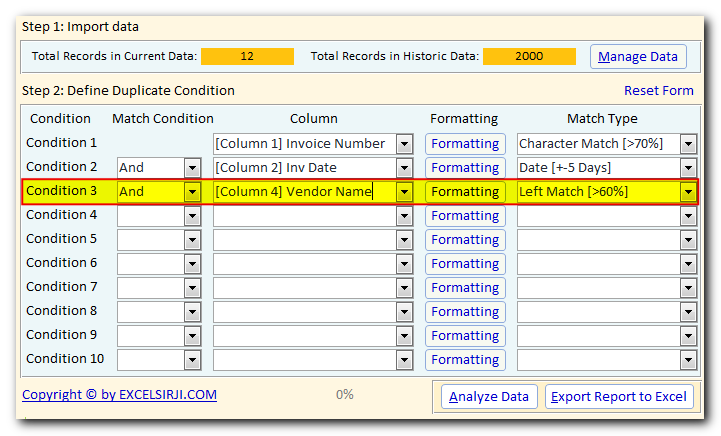
- We will define condition for Vendor Name as ‘Left Match [>60%]’
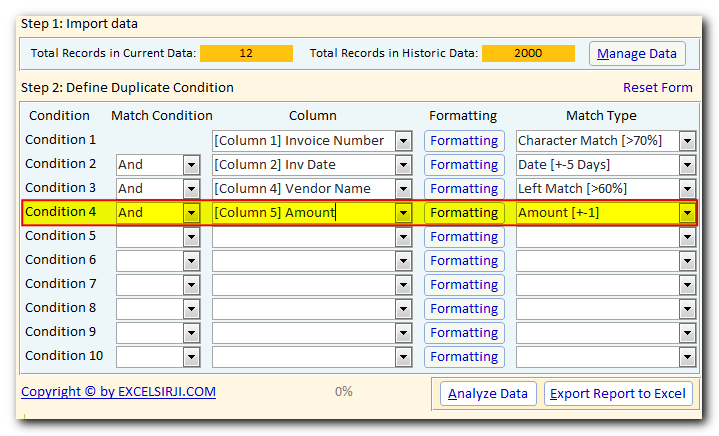
- Next is Amount condition, for this we will define the condition as ‘Amount [+-1]’
- The last condition we will define for Customer Name as ‘Exact Match’
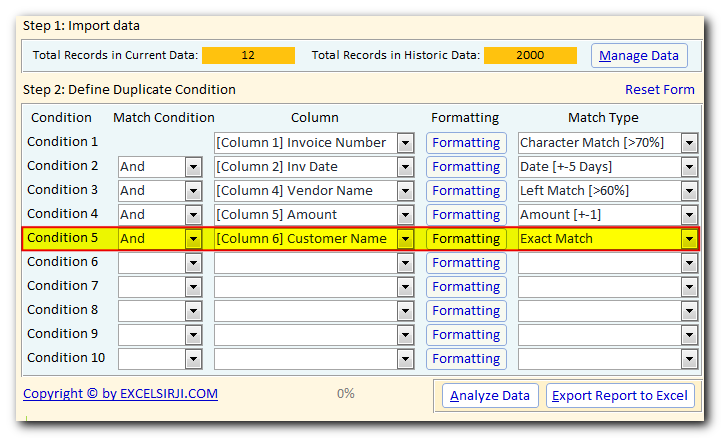
- Done, let’s click on ‘Analyze Data’ button and see the result.
Note that if you want to stop the analysis in between then you can click on the same button again. Also, you can see the progress on the bottom progress bar and percentage label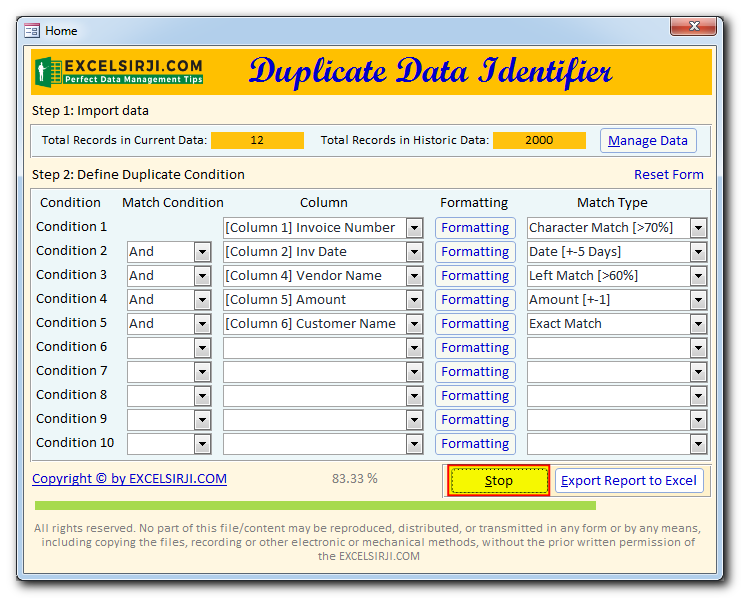
- Once Analysis are completed, you will see a confirmation message box along with number of duplicates found. Click on ‘OK’ button to proceed.
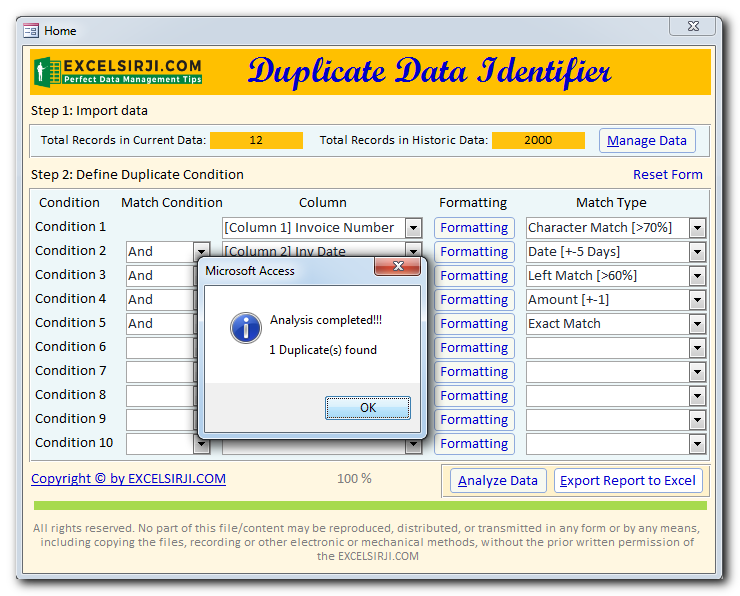
- To view the results in Excel file, click on ‘Export Report to Excel’ button
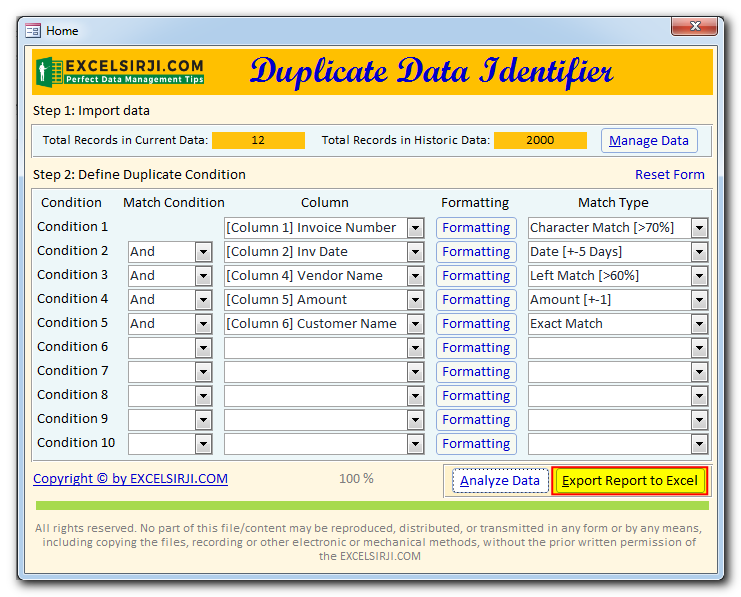
- Report will be divided in two sections:
Section 1 – Current Data: These are the records from Current Data which are found as duplicate when comparing with Historic Data. You can identify them from Column A (Record Type) as ‘Current Data’. Also, these records will be marked in Orange color for easy identification
Section 2 – Historic Data: These are the matching records from Historic Data based on which duplicates have been identified in Current Data. You can identify them from Column A (Record Type) as ‘Historic Data’.

- Let’s have a look at a report with few more records

In the above screenshot, you can notice that there are 5 duplicates found in Current Data and there are 7 matching records from Historic Data. Each match has been given a Match Number which you can see in column B (MatchNumber). So, if you want to have a look at matching records of first duplicate then you can apply filter in Column B as 1

Similarly, to look at matching records of fifth duplicate then apply filter in Column B as 5

- Great news, now you are ready to use the tool and save your business from duplicate payments.


